

 This week I learned how to combine different kawaii characters into a kawaii doodle that looks cool and adorable. 🙂 I also practiced adding textures and charms to make the design “sparkle”.
I started by doing research and sketching from references. By the end of the week I was ready to create my own design and to document the drawing steps, so that you can make one too!
This is Week 12 of my 6-month challenge to learn kawaii drawings. Use this link to track my drawing progress week by week.
Kawaii Doodle Sketches
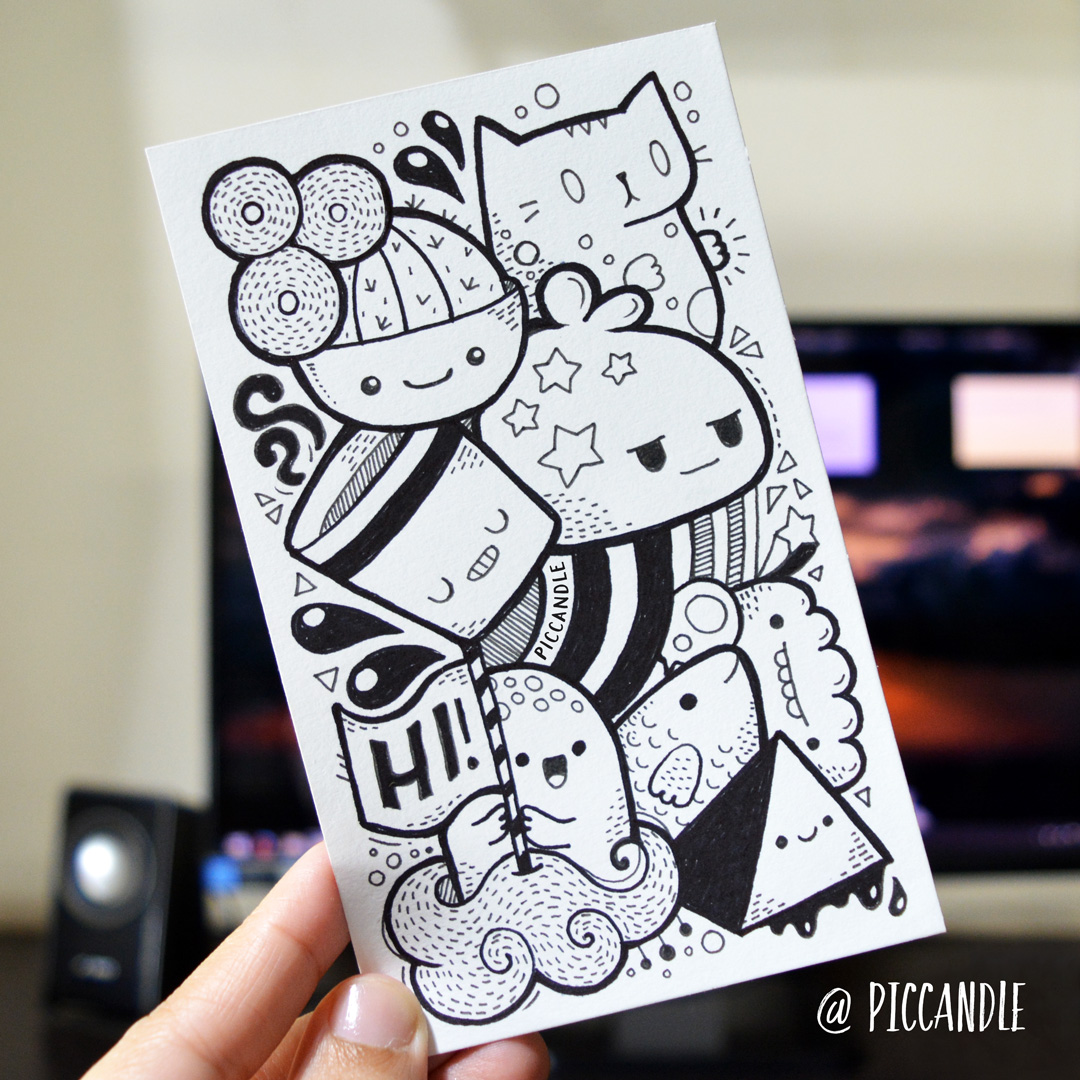
I really wasn’t sure where to start with kawaii collaging, as I haven’t done this before. So, when in doubt — research! I turned to my “secret” teacher Zainab Khan and started copying some of her doodles. I did it very rough. I was not looking to produce a final drawing, but rather to learn the techniques and the process.
I also purchased her Etsy practice sheet for ideas on drawing kawaii expressions.
Then, naturally, I decided that it’s time to create a doodle of my own. Scary!! Why does it frighten me so, when the time comes to create my own designs? I don’t know… maybe these are remnants of my school days, when we were graded on everything…? But I digress.
I had to push through my resistance and just draw something. I told myself that it didn’t matter how good or bad it comes out, I just needed to do it.
After 30 minutes of internal panic I produced two sketches, and then it was time to make dinner. When I returned to my kawaii doodles a couple of hours later, I was surprised to find out that they were not a complete write-off, as I thought. They were actually ok. Ok enough to post here…. umm… publicly. And a comment from my husband, “Wow, these are gooood”, helped too ;).
Here they are. On the left is my practice doodle loosely based on this PicCandle design. On the right are sketches of two kawaii doodles of my own.

The image on the left is modelled after drawings by PicCandle. The two sketches on the right are my kawaii doodle studies.
I did these drawings very quickly, without much planning. It was the end of the day, I was tired and not thinking. Just putting pen (and pencil) to paper. Not too bad!
This experience gave me confidence. Next, I decided to draw a “planned” kawaii doodle, so I can analyse and document the creative process. This way I can do it again, and I can share it with you!
Anatomy of a Kawaii Doodle
Here is my drawing result 🙂

Ok, it’s not perfect. But it’s a good starting point. I need to keep practicing, and to make lots more drawings!
The pens I used are Sakura Graphic pen (size 1) and Tombow brush pen in black.
Full disclosure: I personally own and use all of these. If you buy anything using my links, Amazon will pay me a small commission (no cost to you - thank you!). But if you normally shop somewhere else, it's totally ok too.
So, is there a repeatable process I can follow to create these doodles? Yes! Below are 5 steps to follow. Let me know in the comments if they work for you. Or maybe you have steps you like to follow?
It’s actually not that difficult, once you understand the process.
How to Create a Kawaii Doodle with 5 Easy Steps
- Pick a theme and decide on (or research) a few characters to doodle
- Draw the main big shapes and put faces on them
- Fill around the big shapes with medium-sized fillers, such as clouds, leaves, spirals etc
- Embellish the design with lots and lots of different little charms, like stars, triangles, mini-flowers and swirls
- Fill gaps with textures, and add textures to characters to make them interesting (I created a post earlier with 40 textures to use for kawaii drawings)
Kawaii Doodle Tips
- The real secret to collaging is to use images that are ALREADY cute. Just arranging not-so-cute images in a doodle does not improve the cuteness factor.
- Use a variety of shapes, tones and textures. Make the faces look in different directions, alternate plain areas with textured areas, use objects that are square, skinny-and-long, skinny-and-short, round, pointy, odd-shaped, etc.
- Apply principles of good design to balance the drawing and make it pleasing to the eye
Do you have any tips for creating kawaii doodles? Let me know in the comments!
Drawing Time Diary
Monday, Jan 30: 1 h 50 mins
Tuesday, Jan 31: 1 h 45 mins
Wednesday, Feb 1: no drawing
Thursday, Feb 2: 25 mins
Friday, Feb 3: no drawing
Saturday, Feb 4: no drawing
Sunday, Feb 5: 50 mins
Total drawing time: 4 h 50 mins
Read about my drawing challenge to learn kawaii in 6 months, and track my progress week by week. Thank you for being here 🙂


Also I love your tutorials, Tatyana!
Yay, glad you like the tutorials!
Another tip: Make sure that all eyes are big and that you don’t make it way too busy!
🙂
Good one! The size of the eyes is definitely a personal preference. 🙂 It’s good to experiment!
Me encantan tus dibujos, muchas gracias por enseñar tu proceso creativo aquí!! 🥰
Thank you, I am glad you like my drawings. And sharing my creative process is my mission! 🙂 We are all so creative. And if I can inspire someone to create by sharing HOW to do it, I am happy. 😀
Did you ever think about making a Webtoon account? If you have one could I see it? I love ur Art and it is really good. #KawaiiRules!
Thanks Callum, I don’t have a Webtoon account, but I’ll look into it! By the way, you e-mail subscription address bounced… did you put it in correctly? I was not able to send you kawaii tutorials.